Hydraulics for Fleet Repair: How to Identify Hose, Fitting & Seal Issues Before They Cause Costly Downtime

Hydraulic problems rarely start with a dramatic failure. In fleet work, they usually begin as small clues: a faint oily film near a coupling, a hose cover that looks a little “sun-baked,” a cylinder that moves slower than it did last week, or a new hiss you can’t quite place. The trouble is that those small clues tend to show up days or weeks before the system forces a machine out of service.
For fleet managers and repair teams, that gap is the opportunity. Catching hose, fitting, and seal issues early keeps equipment available, limits collateral damage, and reduces the messy kind of breakdown that turns a simple repair into a full-day headache.
This guide walks through what to look for, what the symptoms usually mean, and how to build quick inspection habits that actually fit a working yard.
Why hydraulic issues hit fleets so hard
A hydraulic system can tolerate a lot of abuse until it can’t. When a hose lets go or a seal fails under load, the result is often sudden loss of function: no lift, no steering assist, no bed movement, no boom control, no brake support, depending on the application.
Downtime is only part of the cost. A leak can contaminate the jobsite, soak wiring looms, ruin rubber mounts, wash grease out of pins, and pull dirt into places it doesn’t belong. On top of that, low fluid or aerated fluid can starve pumps and generate heat, accelerating wear across the whole system.
The goal isn’t perfect hydraulics. The goal is catching the common failure modes early enough that the repair stays simple.
First: what “normal” looks like
Hydraulic components live in harsh environments. Dirt, vibration, UV exposure, road salt, and heat cycles all leave marks. The trick is learning the difference between normal grime and the warning signs that indicate active damage.
A good baseline check includes:
Dry hoses with intact outer covers
Fittings that are clean enough to inspect, with no wetness around the crimp or threads
Clamps, brackets, and guards that keep lines from rubbing
Normal operating sound (no new hiss, whine, or chatter)
Normal operating speed and power at typical engine RPM
Normal operating temperature for the machine’s duty cycle
Once the crew has a sense of what “normal” means for each unit, problems stand out faster.
Hydraulic hose issues: the early signals that matter
Hoses fail for a few predictable reasons: abrasion, heat, pressure spikes, chemical incompatibility, poor routing, and age. The outside of the hose often tells the story.
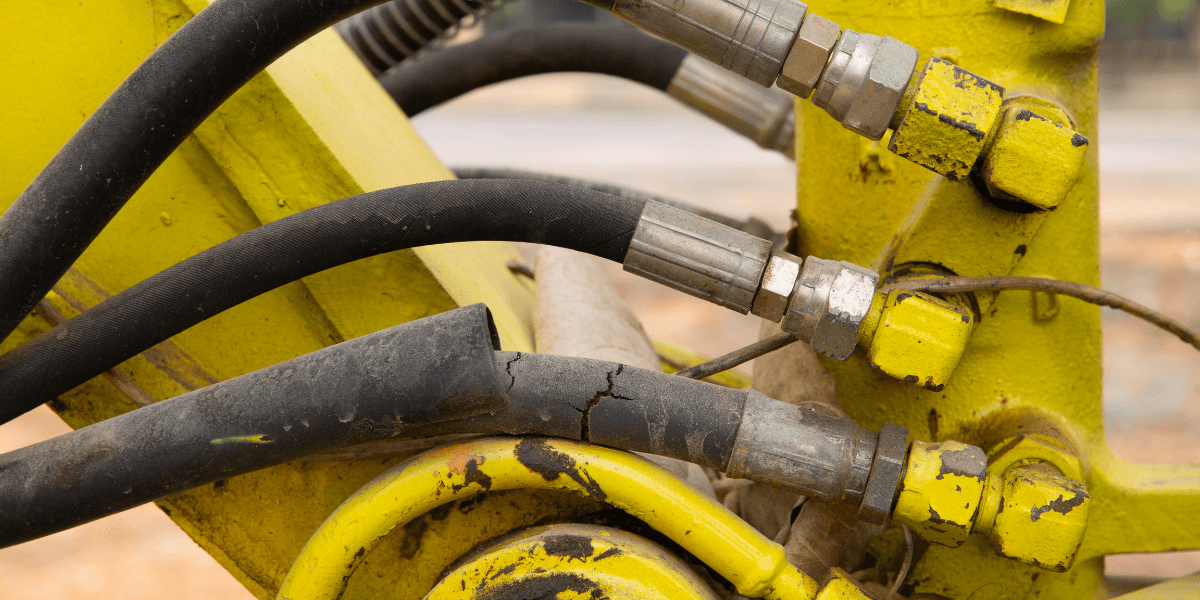
1) Surface cracking, cuts, and abrasion
Start with the simplest visual check: the hose cover.
Look for:
Fine cracking (often from UV exposure, ozone, or age)
Deep cuts or gouges (impact, debris, sharp edges)
Abrasion where a hose rubs a frame rail, bracket, or another hose
Flat spots where the hose has been pinched or crushed
Why it matters: the outer cover protects the reinforcement layers. Once abrasion reaches the reinforcement, the hose is in the danger zone.
2) Exposed or frayed wire reinforcement
If the hose reinforcement is visible, the hose is past “monitor it.” Wire braid or spiral reinforcement exposed to moisture can corrode, weakening the structure. The hose might hold for a while, then fail during a pressure spike or steering lock.
Typical causes:
Rubbing on metal edges
Missing clamps or worn-out isolators
Incorrect hose length (too tight or too loose)
3) Bulges and blisters
A bulge or blister often means the inner tube has been damaged and fluid is migrating between layers. That can happen from overheating, incompatible fluid, pressure cycling, or manufacturing defects, but in fleet environments heat and routing issues show up frequently.
A blister is a red flag because it indicates structural separation. Under load, that weak spot can rupture quickly.
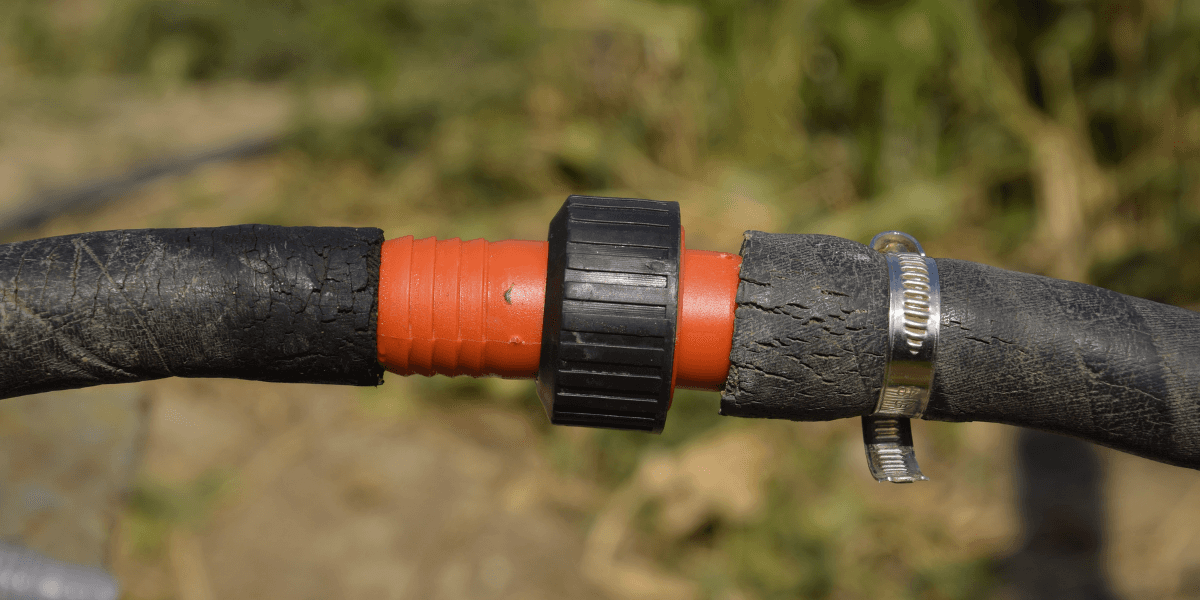
4) Stiffness, brittleness, and discoloration
Hoses that feel unusually stiff or “boardy” tend to crack under flexing. Discoloration can point to heat exposure, ozone damage, or chemical attack. Sometimes the hose looks glazed, hard, or slightly shiny in a way it didn’t before.
Common contributors:
Running hot due to restrictions or low fluid
Hoses routed near exhaust components
Wrong hose material for the fluid type
Extreme cold cycles combined with age
5) Weeping: the slow leak that pretends to be nothing
“Weeping” is a light seep of fluid that creates a damp look at the hose cover or near the fitting area without an obvious drip. It often shows up as a shiny film that collects dust.
Weeping can mean:
A deteriorating hose tube
A compromised crimp area
A fitting that has loosened slightly
A seal that is starting to deform
Even when it’s not dripping, it signals that the system is losing fluid and attracting contamination.
Routing and installation problems that shorten hose life
A healthy hose can still fail early if it’s installed poorly. Routing errors also create symptoms that look like pump problems, when the real issue is a restricted or strained line.
Kinks, twists, and tight bends
A kink is obvious, but twists are sneaky. A twisted hose can look fine until it’s under pressure and starts to torque against the fittings. That stress weakens reinforcement and can cause leaks at the ends.
Watch for:
Hoses that “wind up” when the machine cycles
Tight bend radius near the fitting
Lines pulling tight at full articulation
Rubbing and vibration points
Most abrasion damage comes from one of two things: a missing clamp or a clamp that no longer isolates vibration. If a hose is touching metal, it’s usually a countdown, not a question.
Simple fixes like repositioning a clamp, adding protective sleeving, or installing a guard can buy a lot of life.
Heat exposure
If a hose runs close to exhaust, turbo plumbing, or a hydraulic cooler outlet, the outer cover may harden over time. Heat also reduces fluid viscosity and can accelerate seal wear system-wide.
Heat shielding and rerouting often cost less than the hose replacement that follows repeated overheating.
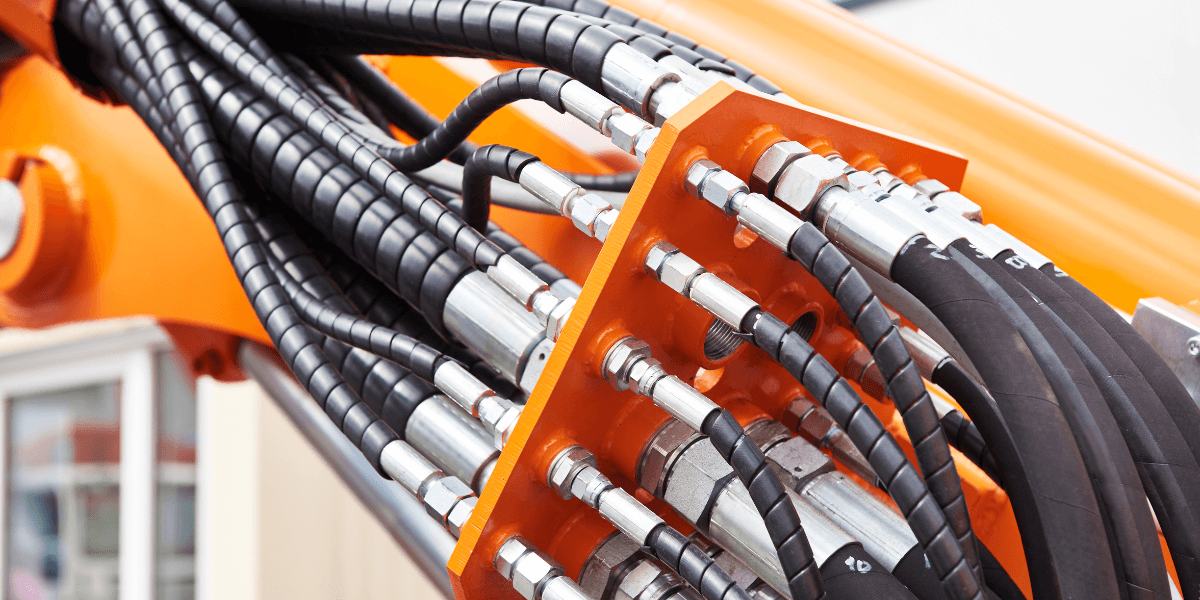
Fitting problems: where leaks and blow-offs begin
Fittings fail in a few repeatable ways: loosening, corrosion, cracked bodies, damaged threads, wrong mating surfaces, or poor assembly. The inspection approach is straightforward: look for signs of movement and signs of fluid.
1) Oil mist, droplets, or puddles near connection points
A fine mist around a fitting can show up before a visible drip. Dust sticks to that mist and creates a grimy ring at the joint. Drips or small puddles under a parked unit usually trace back to fittings, seals, or cylinders, not the hose mid-span.
If the leak is near a crimp, that’s often a hose-end issue rather than a threaded joint.
2) Corrosion and rust staining
Corrosion is common on fleets exposed to road salt or wash chemicals. Corroded fittings can:
Lose sealing surface quality
Become difficult to torque correctly
Crack under vibration
Damage seals during assembly
Rust staining near a fitting can also indicate fluid movement, since oil attracts dirt and can trap moisture.
3) Cracked sealant or damaged adapters
Thread sealant problems show up as flaking, cracking, or seepage. Over-application can contaminate the system, under-application can leak, and using the wrong product for hydraulic pressure can create repeat comebacks.
Adapter stacks deserve extra attention. Every added joint adds another potential leak point and another chance for misalignment.
Seal issues: small components, big consequences
Seals do quiet work until they don’t. When a seal begins to fail, it often presents as slow performance changes, heat, or drift rather than an obvious leak.
1) Cylinder rod seal leakage
A wet rod, oil collecting on the cylinder body, or dripping at the gland area suggests rod seal wear or damage. Dirt on the rod can cut seals quickly, and pitted rods do the same.
If the machine operates in gritty conditions, wipers and rod protection matter as much as the pressure seals.
2) O-ring and face seal problems
O-rings can extrude under pressure, nick during assembly, or harden with heat. Face seals can leak if the mating surface is scratched or if the joint isn’t aligned.
Symptoms often include:
Intermittent leakage (only at high pressure or when hot)
Dampness that shows up after cycling, then “disappears”
A leak that returns shortly after tightening
3) Internal leakage and drift
Not all leaks end up on the ground. Internal bypass in a valve or cylinder can cause:
Sluggish movement
Loss of holding power
Implements that drift down under load
Excess heat as energy turns into heat instead of motion
If the fluid is clean and the pump is healthy, drift and heat often point to seals or valve leakage.
Performance clues: what the machine is telling you
Visual checks catch a lot, but the machine’s behavior fills in the gaps.
Slow operation or loss of power
A sudden drop in speed or power can come from:
Low fluid level from a leak
Air entering the system
A restriction from a collapsed hose liner
A partially blocked filter
A failing pump
If the change is sudden, start with leaks and suction-side issues. If it’s gradual, think heat, contamination, and wear.
Unusual noise: hissing, whining, or chatter
Hissing often indicates fluid escaping under pressure or air being drawn in on the suction side.
Whining can point to pump cavitation, aeration, or a restriction.
Chatter in a cylinder or valve may show contamination, air, or pressure instability.
Noise usually arrives before total failure. Treat it like a useful early alert, not background sound.
Hot running and efficiency loss
Heat is a multiplier. Once a system runs hot, hoses age faster, seals harden faster, and fluid breaks down quicker. If a unit is running hotter than similar units doing the same work, the system is wasting energy somewhere, often through restriction or internal leakage.
A practical inspection rhythm for fleet teams
A workable routine beats an ideal routine that nobody follows. A fast walkaround can catch most of the expensive problems.
Daily quick check (a few minutes)
Scan hoses for fresh wetness, abrasion, and exposed reinforcement
Look around fittings and manifolds for oil film and dirt rings
Check for kinks, sharp bends, and contact points
Note any new noise during first cycle
Watch for slow response or weak function on first use
Weekly closer look
Check clamps, guards, and sleeving for wear or missing hardware
Look for heat damage near exhaust or tight compartments
Inspect high-motion points (articulation, booms, dump beds) for twisting and stretch
Wipe suspect fittings clean, then recheck after cycling
Fluid habits that prevent internal damage
Regular fluid service helps control contamination, which is a root cause of valve wear, pump wear, and seal damage. Fluid that looks dark, smells burnt, or shows persistent foam deserves attention. Clean fluid and clean fill practices reduce a lot of “mystery” failures.
For teams building a repeatable maintenance process, tracking hose age and replacement history helps. Some fleets label hoses with install dates or use QR-based tracking to speed up correct reordering and reduce time spent matching fittings. Shops that standardize those details tend to get fewer repeat failures.
If you’re building out that process, Kowallis teams often see the biggest gains by focusing on routing quality and consistent inspection notes, not just swapping parts.
FAQ:
What are the 5 main problems in hydraulic systems?
Most fleet issues fall into five buckets: contamination, leaks (external and internal), aeration/cavitation, overheating, and component wear from pressure spikes or poor maintenance practices. They overlap, so one problem often triggers another.
What causes hydraulic hose failure?
The big causes are abrasion, heat, UV/ozone aging, pressure spikes, chemical incompatibility with the fluid, and routing errors like twisting or tight bend radius. Installation quality matters as much as hose quality.
Why do hydraulic hoses cost so much?
You’re paying for pressure capability, reinforcement construction, tight manufacturing tolerances, and safety margin. Fleet hoses also need durable covers, reliable crimp performance, and consistent fittings. A cheap hose that fails early can cost far more in downtime and collateral damage.
What is the best sealant for hydraulic fittings?
It depends on the fitting type. Some connections seal on threads, others seal on a flare or face and should not rely on thread sealant for sealing. The right approach starts with identifying the fitting standard and sealing surface, then using a sealant that matches hydraulic pressure and fluid compatibility when it’s actually required.
What is type 3 hose?
“Type 3” can mean different things depending on the supplier, standard, or internal catalog system. In many cases it’s a shop or manufacturer classification tied to pressure rating and construction. The fastest way to avoid a mismatch is to cross-reference the hose markings and the equipment spec rather than relying on a type label alone.

Looking for more than just parts?
Explore how our services are reshaping what support means in this industry.